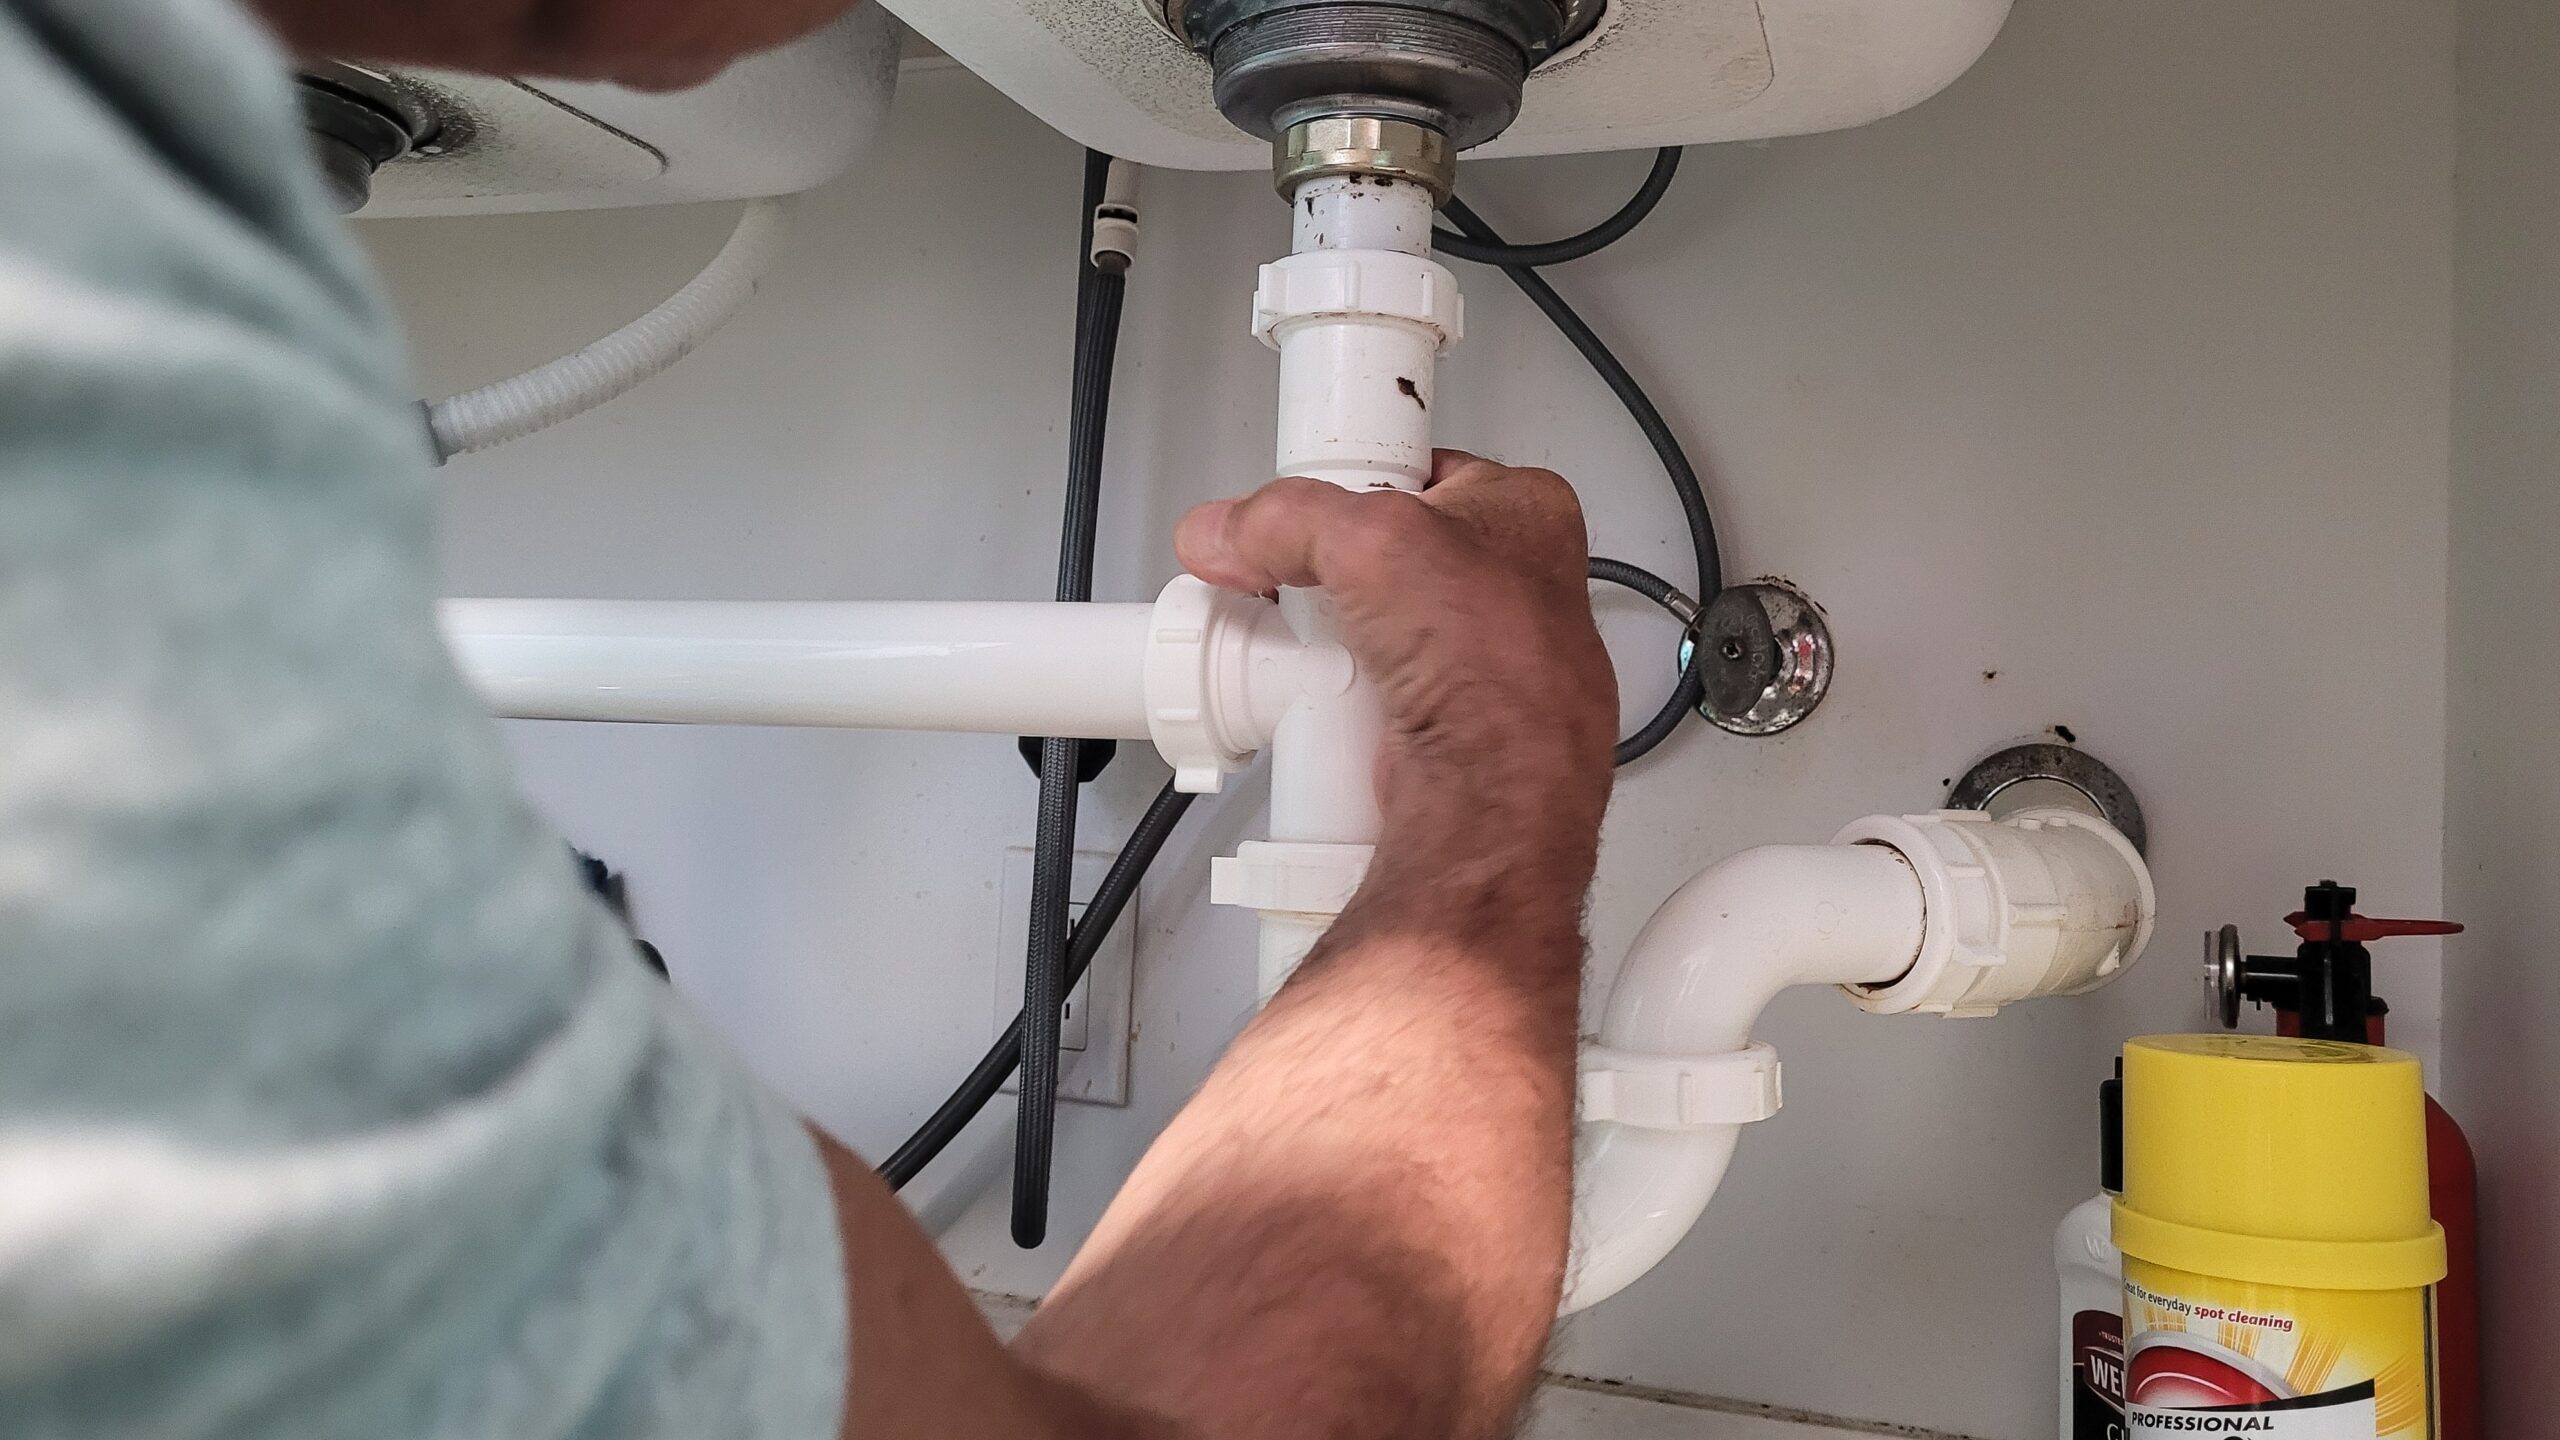
Nothing dampens your day quite like a leaking bathroom sink. The incessant drip-drip, potential water damage, and resultant wastage are sure to keep homeowners on edge. Thankfully, with a little elbow grease and the right guidance, you can often fix a leaking sink yourself.
If you’re unsure about tackling the issue yourself or the problem seems extensive, it’s best to call in a professional. Paschal Air, Plumbing & Electric’s seasoned team is always ready to assist you. But if you’re up for a DIY challenge, we’ve compiled a comprehensive guide to help you understand and fix your leaking bathroom sink.
Understanding Bathroom Sink Leaks
Before we get our hands wet, it’s essential to understand the possible sources of a bathroom sink leak. A bathroom sink can leak due to issues in three primary areas: the faucet, the drain pipe, and the sink basin.
- Faucet leaks often occur due to worn-out components. Whether it’s the O-rings, valve seat, washers, or the cartridge, time, usage, and hard water can erode these parts, leading to leaks.
- Drain pipe leaks are typically caused by loosened connections or cracks in the pipe. Over time, the connection points between different sections of your pipe might loosen, or the pipe itself can crack, causing water to leak.
- Sink basin leaks are usually due to a compromised seal around the sink drain. The putty or sealant holding the drain assembly in place can degrade over time, allowing water to escape.
How to Detect the Type of Leak
Identifying the type of leak you’re dealing with is the first step towards fixing it. Here’s how to spot each:
- Faucet Leaks: Look for continuous dripping even when the faucet is turned off. Water may also seep out from the base of the faucet when it’s turned on.
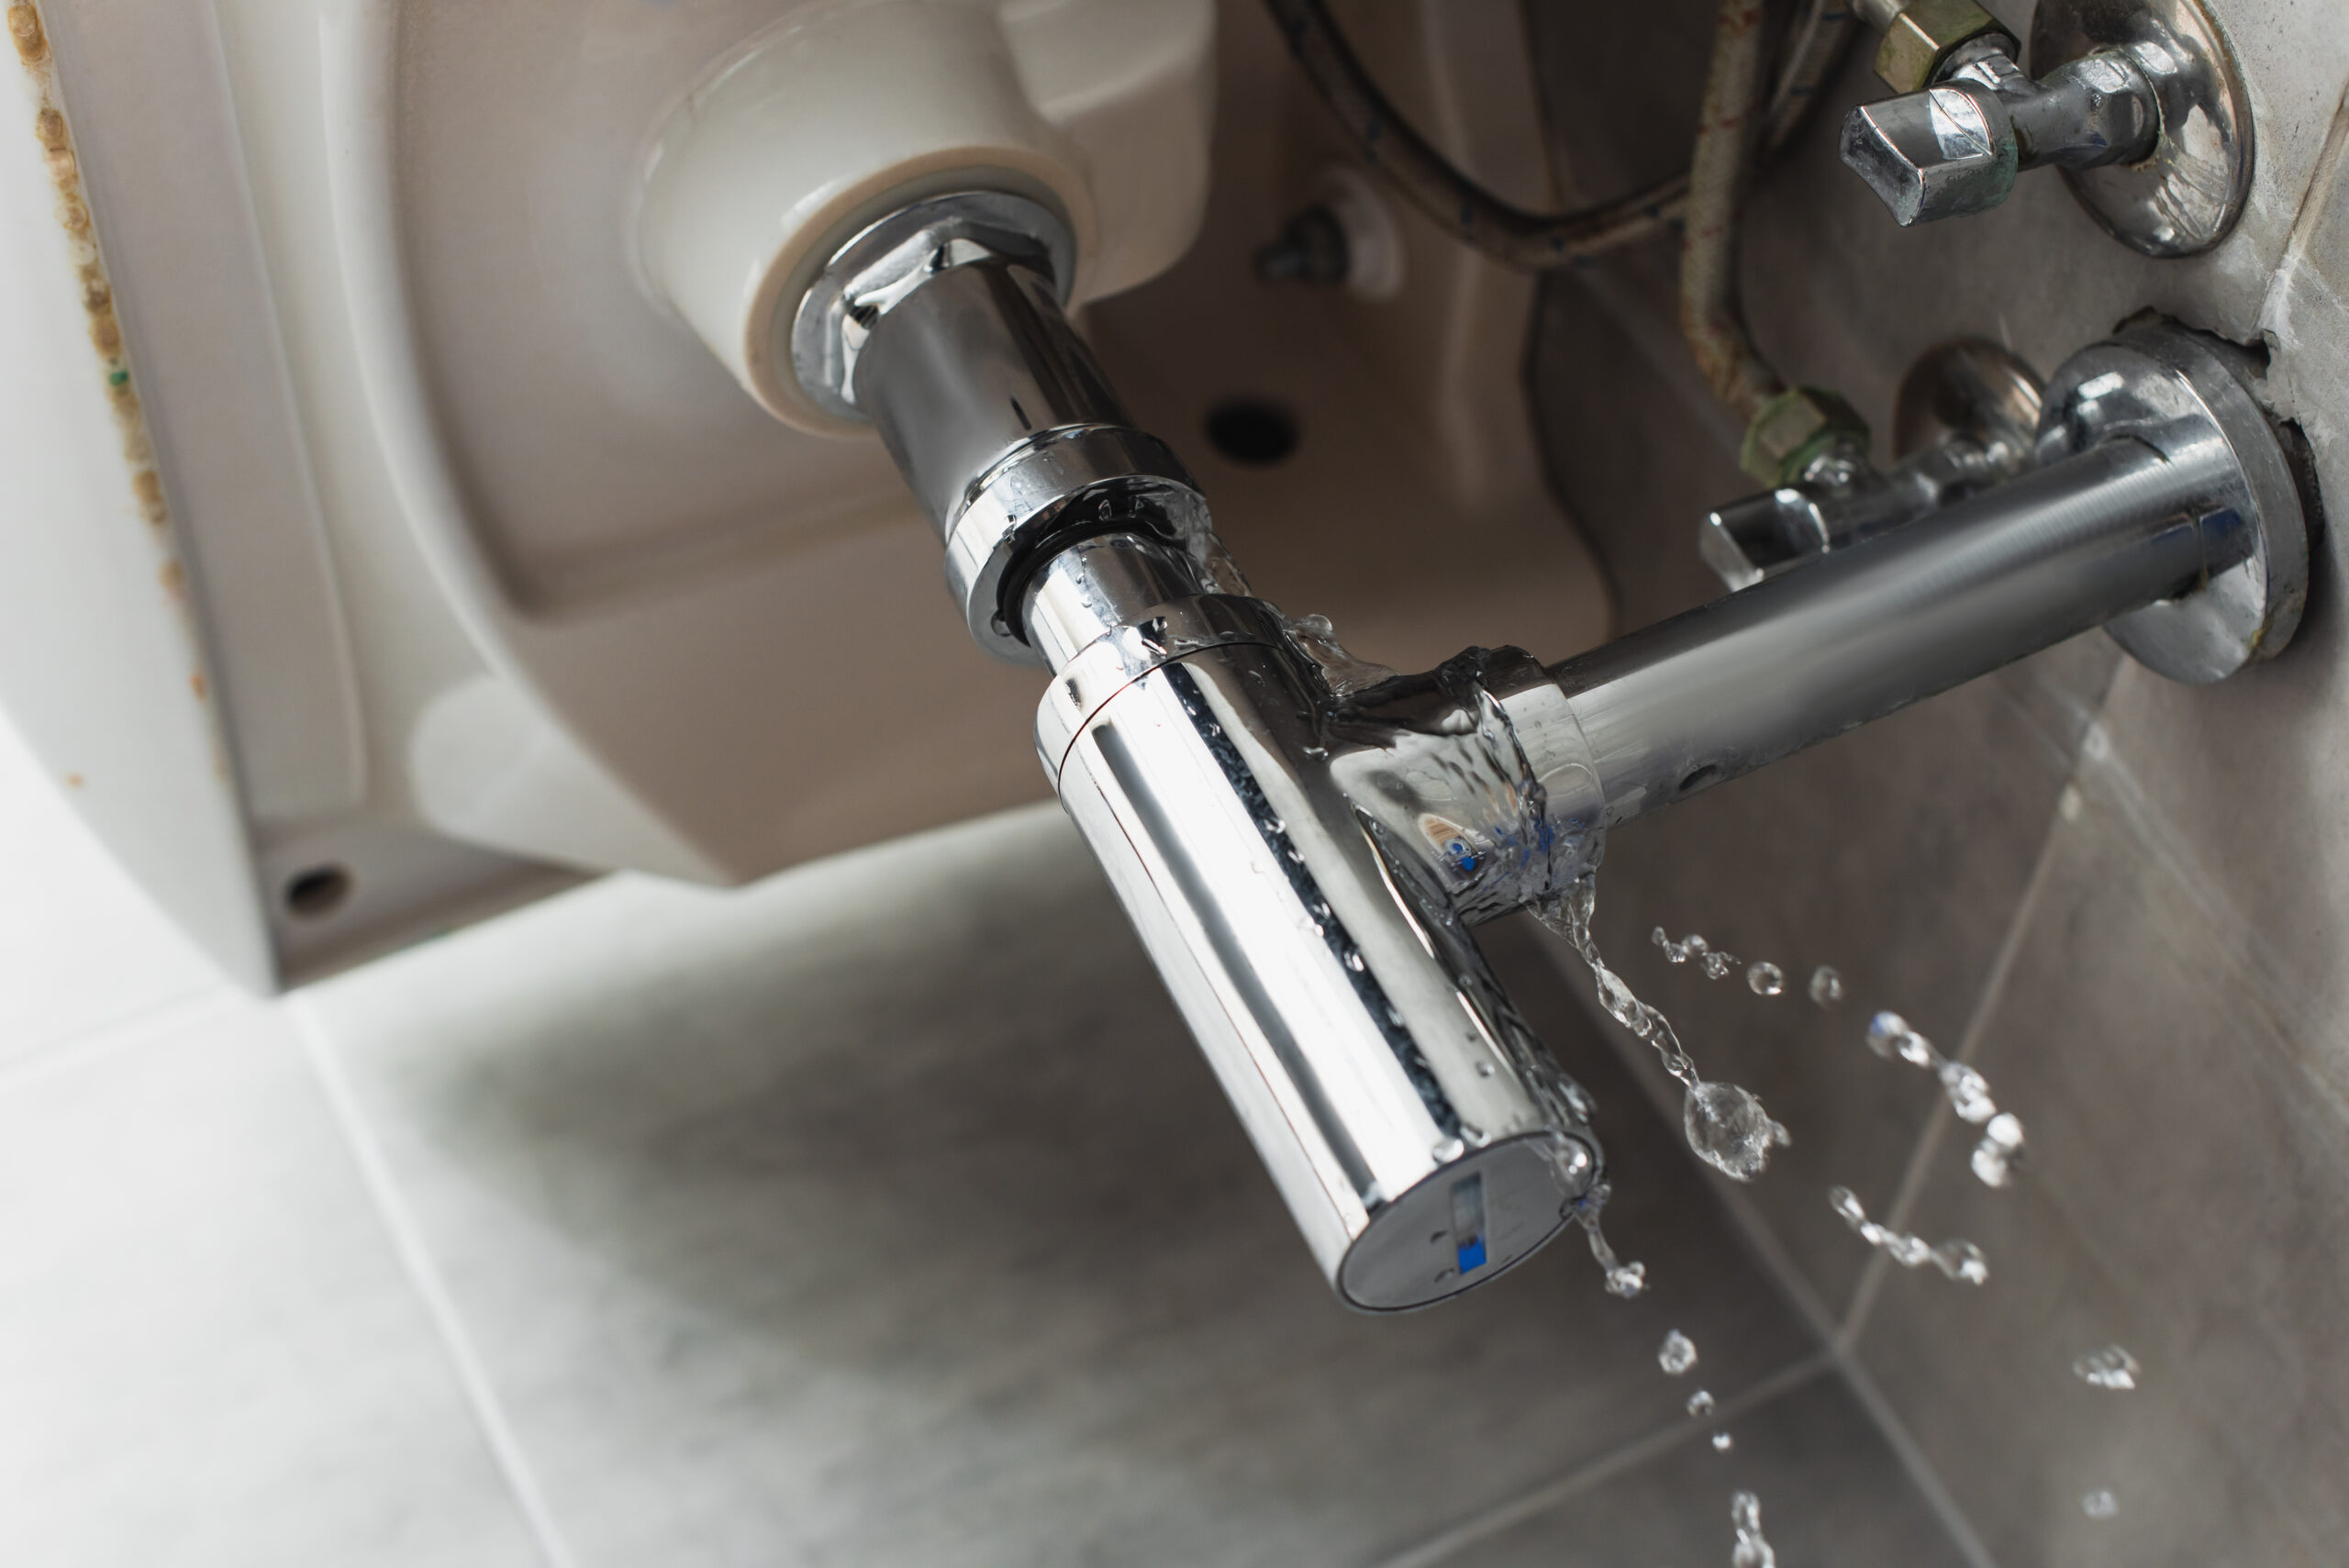
- Drain Pipe Leaks: Water puddles in the cabinet under the sink are a clear sign. Wet stains or discoloration on the pipe can also indicate a leak.
- Sink Basin Leaks: Watch out for water leaking directly from under the sink bowl. This type of leak often results in water pooling on the floor beneath the sink.
Step-by-step Guide to Fixing Various Types of Leaks
Fixing Faucet Leaks
Leaks Due to Worn Out O-Rings
The O-ring, a small disc attached to the stem screw, helps in moving the faucet handle smoothly. A worn-out or loose O-ring can cause a leak near the handle of the faucet. Here’s how to replace it:
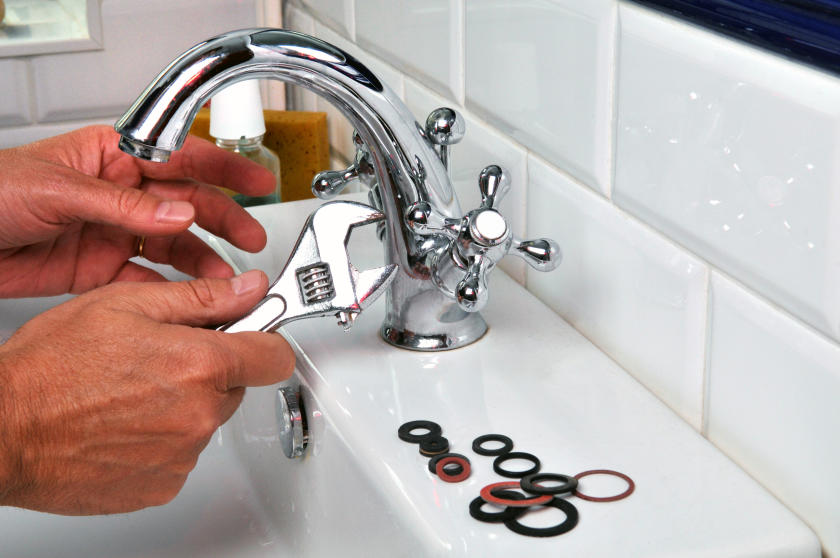
- Turn Off the Water Supply: Always start by shutting off the water supply valves underneath the sink. Turn them clockwiseto stop the flow of water.
- Remove the Faucet Handle: Pop off the decorative cap on the faucet handle, and unscrew the handle by turning the screw counterclockwise using a suitable tool (like a Phillips head screwdriver).
- Remove the Stem: Once the handle is out of the way, you should see a nut that holds the stem in place. Use your wrench to turn this nut counterclockwise, which will loosen the stem.
- Replace the O-Ring: Slide off the old O-ring and replace it with a new one. Make sure to buy the correct size O-ring for your faucet model.
- Reassemble the Faucet: Put the stem and the handle back in place by reversing the disassembly steps. Turn on the water supply and check if the faucet still leaks.
Leaks Due to Worn Out Cartridge
Cartridge faucets may leak due to a damaged cartridge. Here are the steps to replace it:
- Turn Off the Water Supply: As before, start by shutting off the water supply valves under the sink.
- Remove the Faucet Handle: Similar to the O-ring replacement, remove the decorative cap on the handle and unscrew the handle.
- Remove the Retaining Nut: The cartridge is usually under a retaining nut. Use an adjustable wrench to loosen this nut by turning it counterclockwise.
- Pull Out the Cartridge: Once the retaining nut is off, the cartridge should pull out easily. If it doesn’t, use pliers to gently pull it out.
- Replace the Cartridge: Insert the new cartridge into the faucet assembly. It should slide in smoothly.
- Reassemble the Faucet: Put the retaining nut and the handle back in place. Turn the water supply back on and check for leaks.
Fixing Drain Pipe Leaks
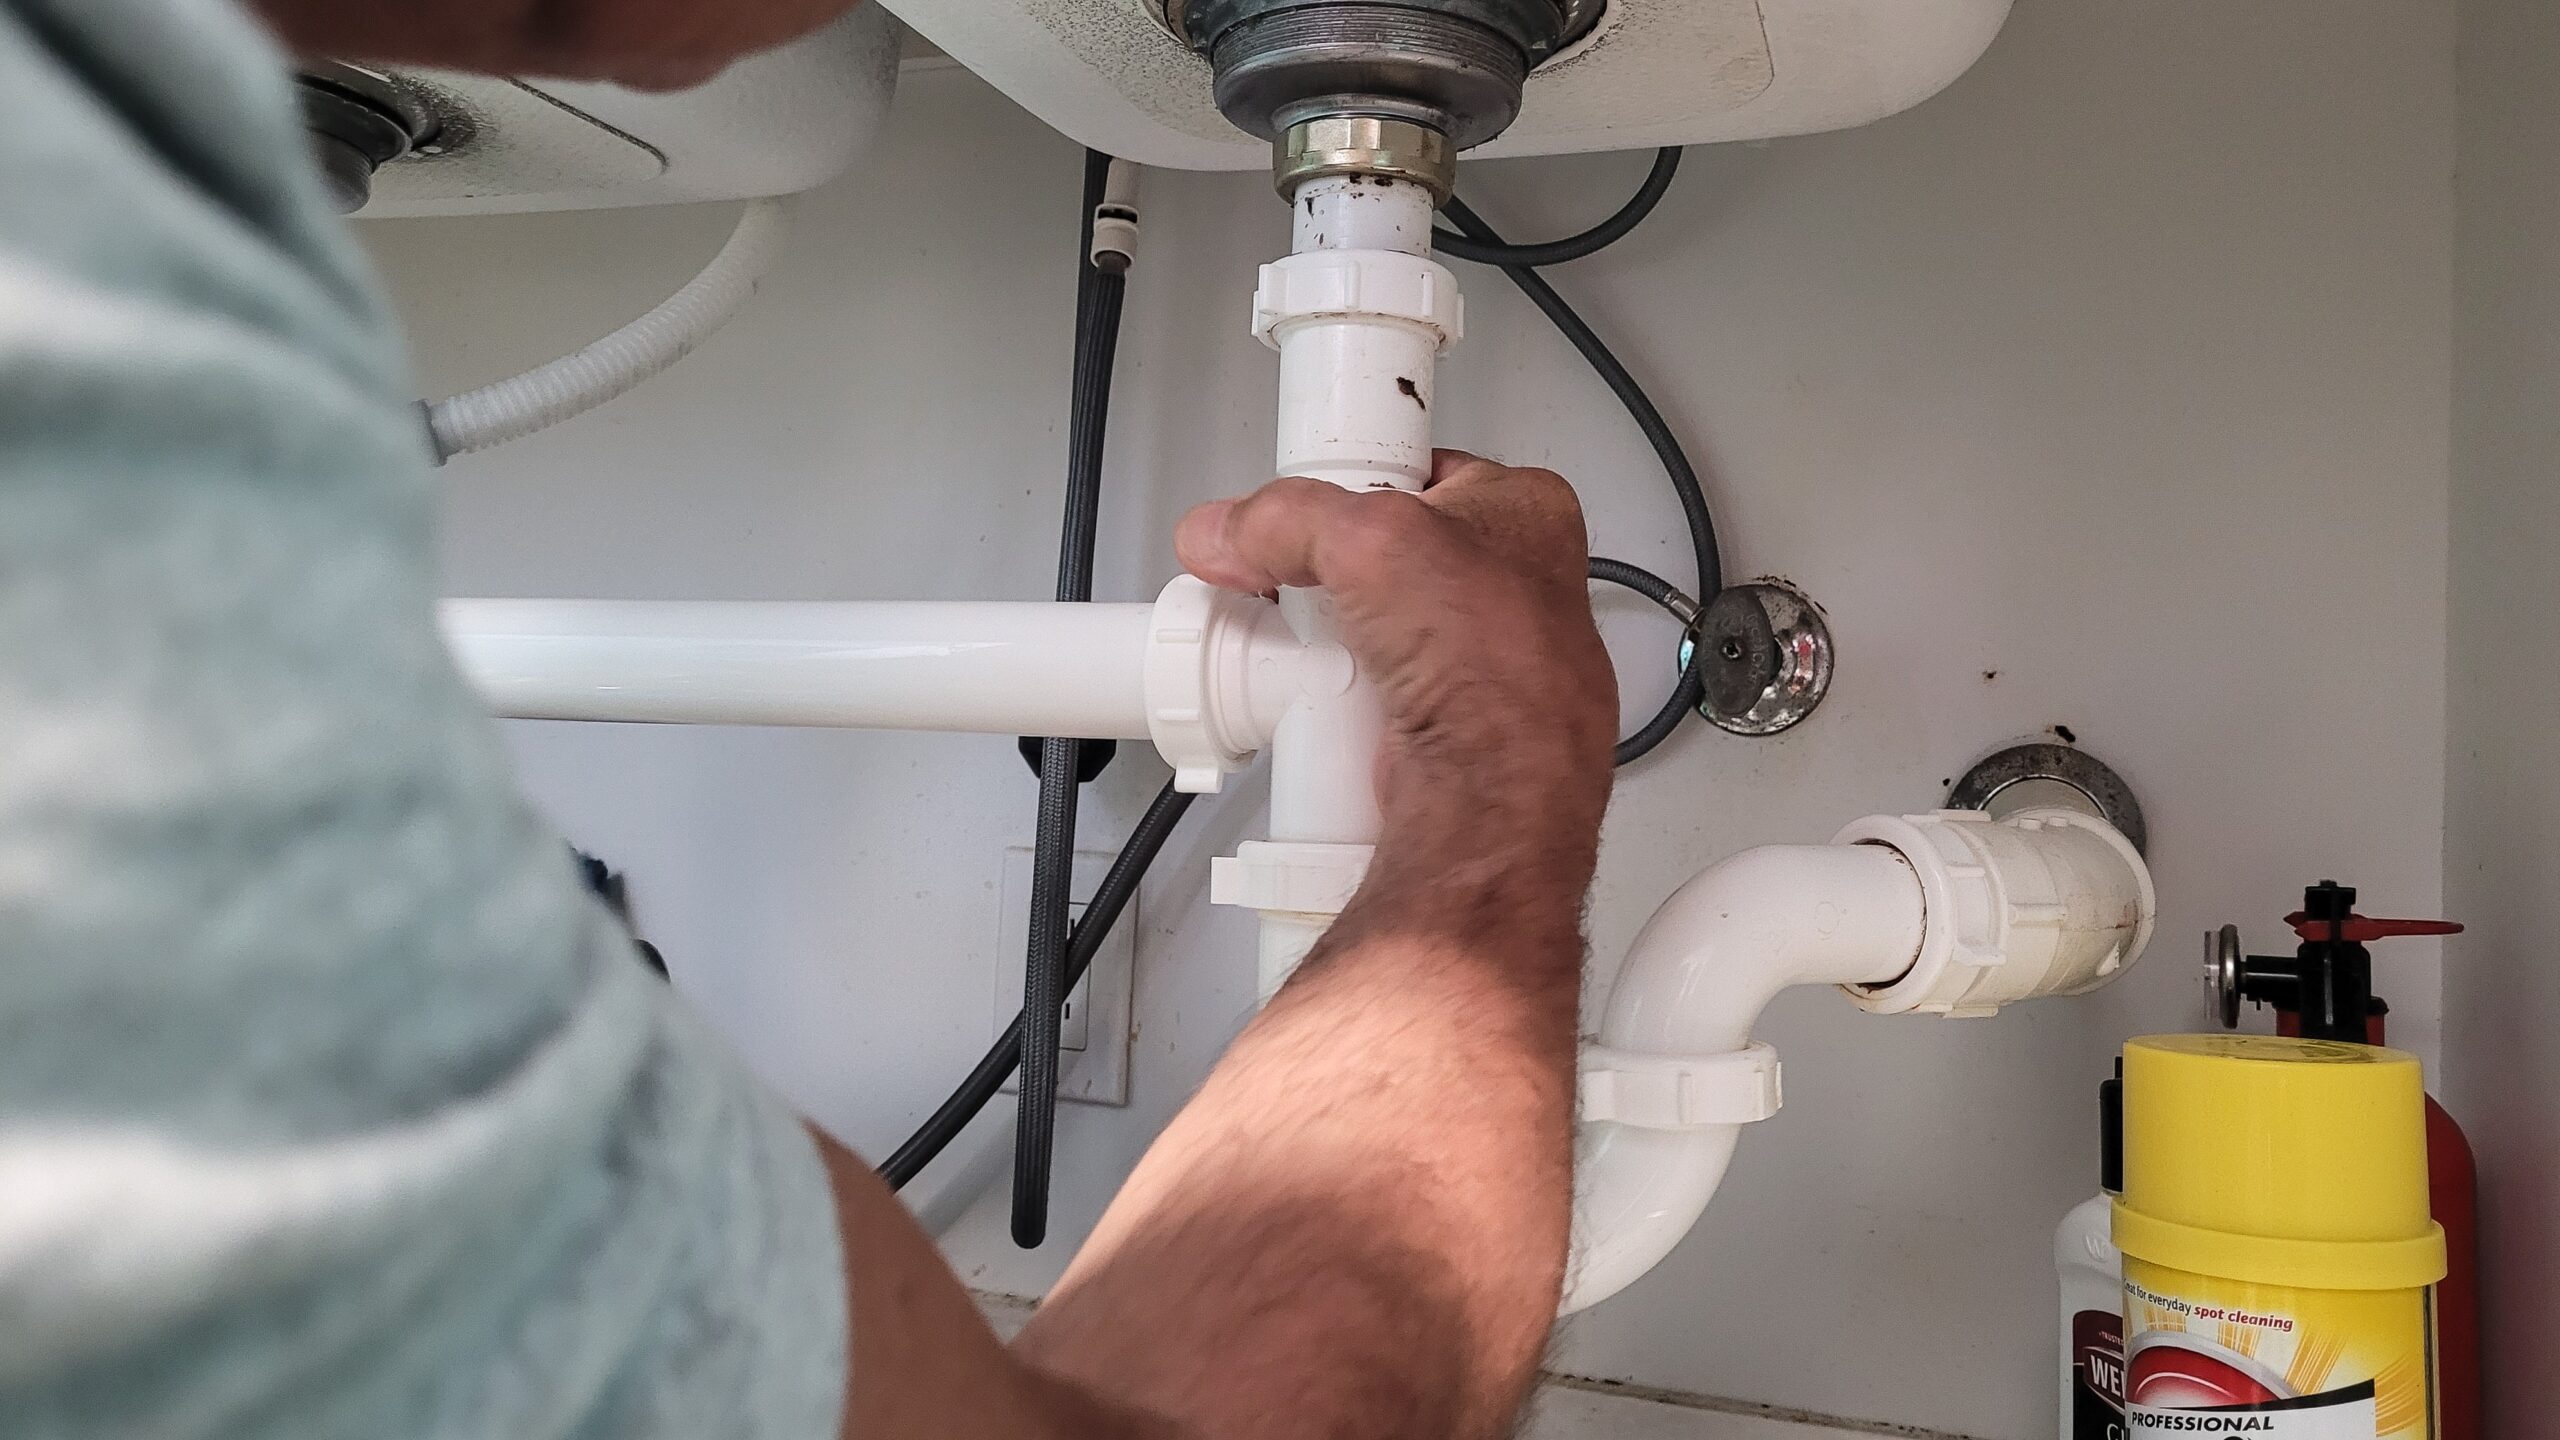
Leaky pipes can usually be fixed by tightening the connections or replacing the section of the pipe that’s causing the leak. Here’s how:
- Locate the Leak: First, find the exact location of the leak. Dry off the pipe with a towel and then run water through the sink. Look for fresh water droplets to find the source of the leak.
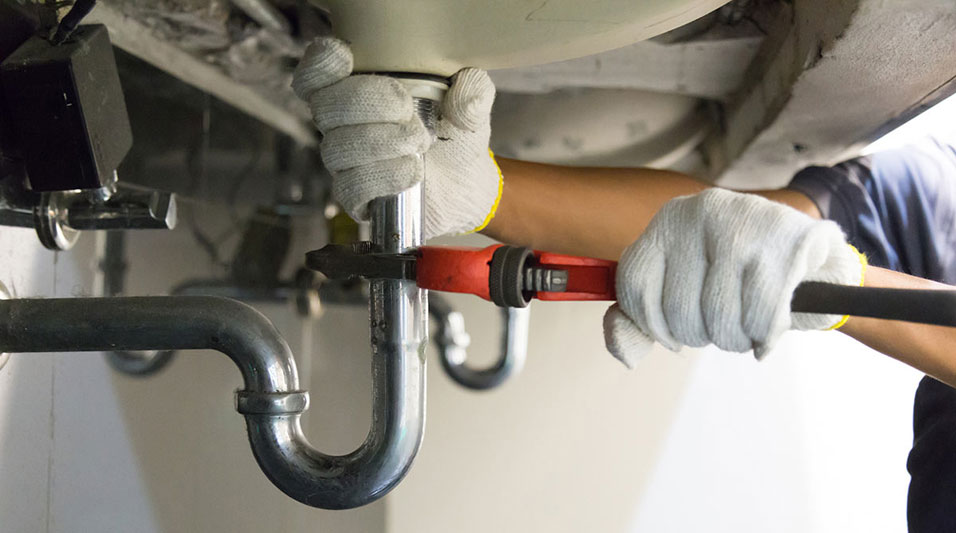
- Tighten the Connections: If the leak is at a joint, try tightening the slip nuts with a pipe wrench. Turn clockwise to tighten. Be careful not to over-tighten as this could damage the nuts or threads.
- Check for Improvement: Run water through the sink again to check if the leak persists.
- Replace the Pipe: If the pipe continues to leak, it may be cracked or too worn to seal properly. In this case, you’ll need to replace the pipe. Make sure to purchase the correct size and material for your system. Replacement is usually as simple as unscrewing the old pipe and screwing in the new one.
Fixing Sink Basin Leaks
A leak from the sink basin usually means the seal around the sink drain is compromised. Here’s how to replace the seal:
- Remove the Old Drain Flange: Start by unscrewing the nut on the underside of the drain flange with your pipe wrench. Once the nut is off, you should be able to lift the flange out from the top of the sink.
- Clean the Area: Scrape off any old plumber’s putty or sealant from around the sink hole.
- Apply New Sealant: Roll a piece of plumber’s putty into a rope shape and apply it around the underside of the new drain flange.
- Install the New Drain Flange: Place the newdrain flange into the sink hole, ensuring it’s sitting firmly in the putty.
- Tighten from Underneath: Reattach and tighten the nut on the underside. The putty will be squeezed out slightly, creating a watertight seal.
- Remove Excess Putty: Clean off any putty that has squeezed out around the flange.
- Test Your Work: Run water into the sink and check for any leaks.
Preventive Measures for Bathroom Sink Leaks
Prevention is always better than cure. Here are some steps to help prevent bathroom sink leaks:
- Regular Inspections: Check your bathroom sink for any signs of wear and tear regularly. Look for any small leaks, rust, or mineral deposits that might indicate a potential problem.
- Replace Worn Out Parts Promptly: If you find that parts like the O-rings or the cartridge are worn out, replace them immediately to prevent potential leaks.
- Avoid Over-tightening: Over-tightening the components of your bathroom sink can cause them to crack or lose their ability to seal properly. Always apply a reasonable amount of pressure when tightening parts.
- Use Quality Parts: Always opt for quality parts when replacing any components of your bathroom sink. Quality parts last longer and are less likely to leak.
- Annual Professional Inspection: A professional plumber can spot issues that might be missed during a DIY inspection. Having your plumbing system inspected by a professional annually can prevent many plumbing problems.
FAQ
What causes a bathroom sink to leak?
- Bathroom sink leaks can be caused by worn-out faucet components (like the O-rings, valve seat, washers, or the cartridge), loosened or cracked drain pipes, or a compromised seal around the sink drain.
How much does it cost to fix a leaky bathroom sink?
- DIY repairs are low-cost but carry the risk of further damage if mistakes occur. Professional repairs have a higher initial cost, but they provide expertise, specialized tools, and assurances like insurance and warranties, potentially saving money long-term.
Can a leaky bathroom sink lead to more serious problems?
- Yes, a leaky bathroom sink can lead to water damage, mold growth, and higher water bills if not addressed promptly.

Conclusion & Next Steps
While fixing a leaking bathroom sink can be a straightforward task, it requires patience, the right tools, and some technical know-how. We hope this guide helps you identify the source of your leak and provides you with the steps to fix it.
However, if the task seems daunting, or if your DIY repair doesn’t stop the leak, remember that the professionals at Paschal Air, Plumbing & Electric are always here to help. Our team of experienced plumbers can quickly identify and fix any bathroom sink leak, saving you time, effort, and potential water damage down the line.
Don’t let a leaky bathroom sink dampen your day. Whether you’re ready for a DIY project or need professional assistance, take action today. Remember, a prompt response is key to avoiding larger issues.
Schedule your next appointment with the professionals at Paschal Air, Plumbing & Electric today. Let us help you keep your home dry and your mind at ease.


